
Make-ahead dinners are meals you assemble now and bake later, often after a stretch in the freezer. You build a casserole, baked pasta, or sheet-pan kit on a good day, freeze it raw or partly cooked, then thaw it in the fridge and slide it in the oven on a night when you have nothing left to give. The oven does the work while you sit down.
Make two pans of baked ziti when you have time. Bake one for dinner and freeze the other for a busy night. The next meal starts with a pan you already made.
Cook on the good day for the hard one
Energy changes from day to day. If you have time and strength to cook, doubling a recipe can give you another dinner later. Bake one pan and freeze one for a day when standing at the stove feels hard.
This is different from the dump-bag slow-cooker meals you might have seen (I have a separate post on those if crockpots are your thing). These are oven meals. You assemble them in a baking dish, freeze the whole thing, and bake it when you need it. Casseroles, baked pasta, enchiladas, breakfast burritos, sheet-pan kits. Food that comes out hot and bubbling, not soup from a bag.
The nights when you have nothing left
Let me tell you about the nights this is really for. It is 5:45. The kids are melting down. You are tired. The thought of chopping a single onion makes you want to lie down on the kitchen floor.
On a night like that, willpower is gone. Good intentions are gone. What is left is whatever your hands can reach without thinking. If that is a pan you already built, sitting in the freezer with a label on it, you win. You move it to the fridge the night before, or you bake it straight from frozen with extra time, and dinner happens almost on its own.
I am not going to pretend a frozen casserole fixes a hard season. It does not. But it takes one decision off your plate on the day you have no decisions left in you. That is not nothing. On the worst weeks, that one thing has held the rest of us together.
How to assemble, freeze, and bake it right
Here is the method, start to finish. None of it is fancy. All of it is cheap.
Chill cooked parts promptly. Divide hot meat and pasta into shallow containers and put them in the fridge right away. Refrigerate within two hours, or one hour if the room is above 90°F. Once chilled, assemble and freeze the meal. Keep your fridge at 40°F or below and your freezer at 0°F.
Wrap it tight and label it. Cover the cold dish with a layer of plastic wrap pressed right onto the food, then a layer of foil. Remove the plastic wrap before baking. Use a pan rated for freezer-to-oven use if you bake from frozen. Air is the enemy. Write the name and the date on the foil with a marker. You will not remember in three weeks what that frosty brick is, I promise you.
Know your two ways to bake. You can thaw it in the fridge overnight, then bake it like normal. Or you can bake it straight from frozen, which takes longer and needs a check at the end. Either way, the rule that matters most is the last one below.
Check that the center is hot. A casserole is safe when the middle reaches 165°F. The edges will look done long before the center catches up, so use a food thermometer to check the middle. Color and steam cannot show a safe temperature. Read the FDA food-handling guide for cooling, storage and reheating steps.
Now the two recipes I lean on most.
Freezer Baked Ziti
This is my Tuesday-saver. It feeds my crew twice and the ingredients are things I almost always have.
- 1 pound ziti or penne pasta
- 1 pound ground beef or Italian sausage
- 1 jar (24 oz) marinara sauce
- 1 container (15 oz) ricotta cheese
- 2 cups shredded mozzarella
- 1/2 cup grated parmesan
- 1 egg
- 1 teaspoon garlic powder, salt, and pepper
- Boil the pasta two minutes shy of done, so it stays firm after baking. Drain and chill promptly in a shallow container.
- Brown the meat in a pan, then stir in the marinara. Chill promptly in a shallow container.
- In a bowl, mix the ricotta, egg, parmesan, garlic powder, salt, and pepper.
- Stir the cooled pasta into the meat sauce. In a freezer-safe baking dish, layer half the pasta, then the ricotta mix, then the rest of the pasta. Top with mozzarella.
- To freeze: Start with chilled ingredients. Press plastic wrap onto the top, then cover with foil. Label with the name and date. Freeze up to 3 months.
- To bake from thawed: Thaw in the fridge overnight. Bake covered at 375°F for 30 minutes, then uncover and bake 15 more, until hot in the center (165°F).
- To bake from frozen: Keep it covered and bake at 375°F for about 60 minutes, then uncover and bake 20 to 30 more. Check that the center reaches 165°F before serving.
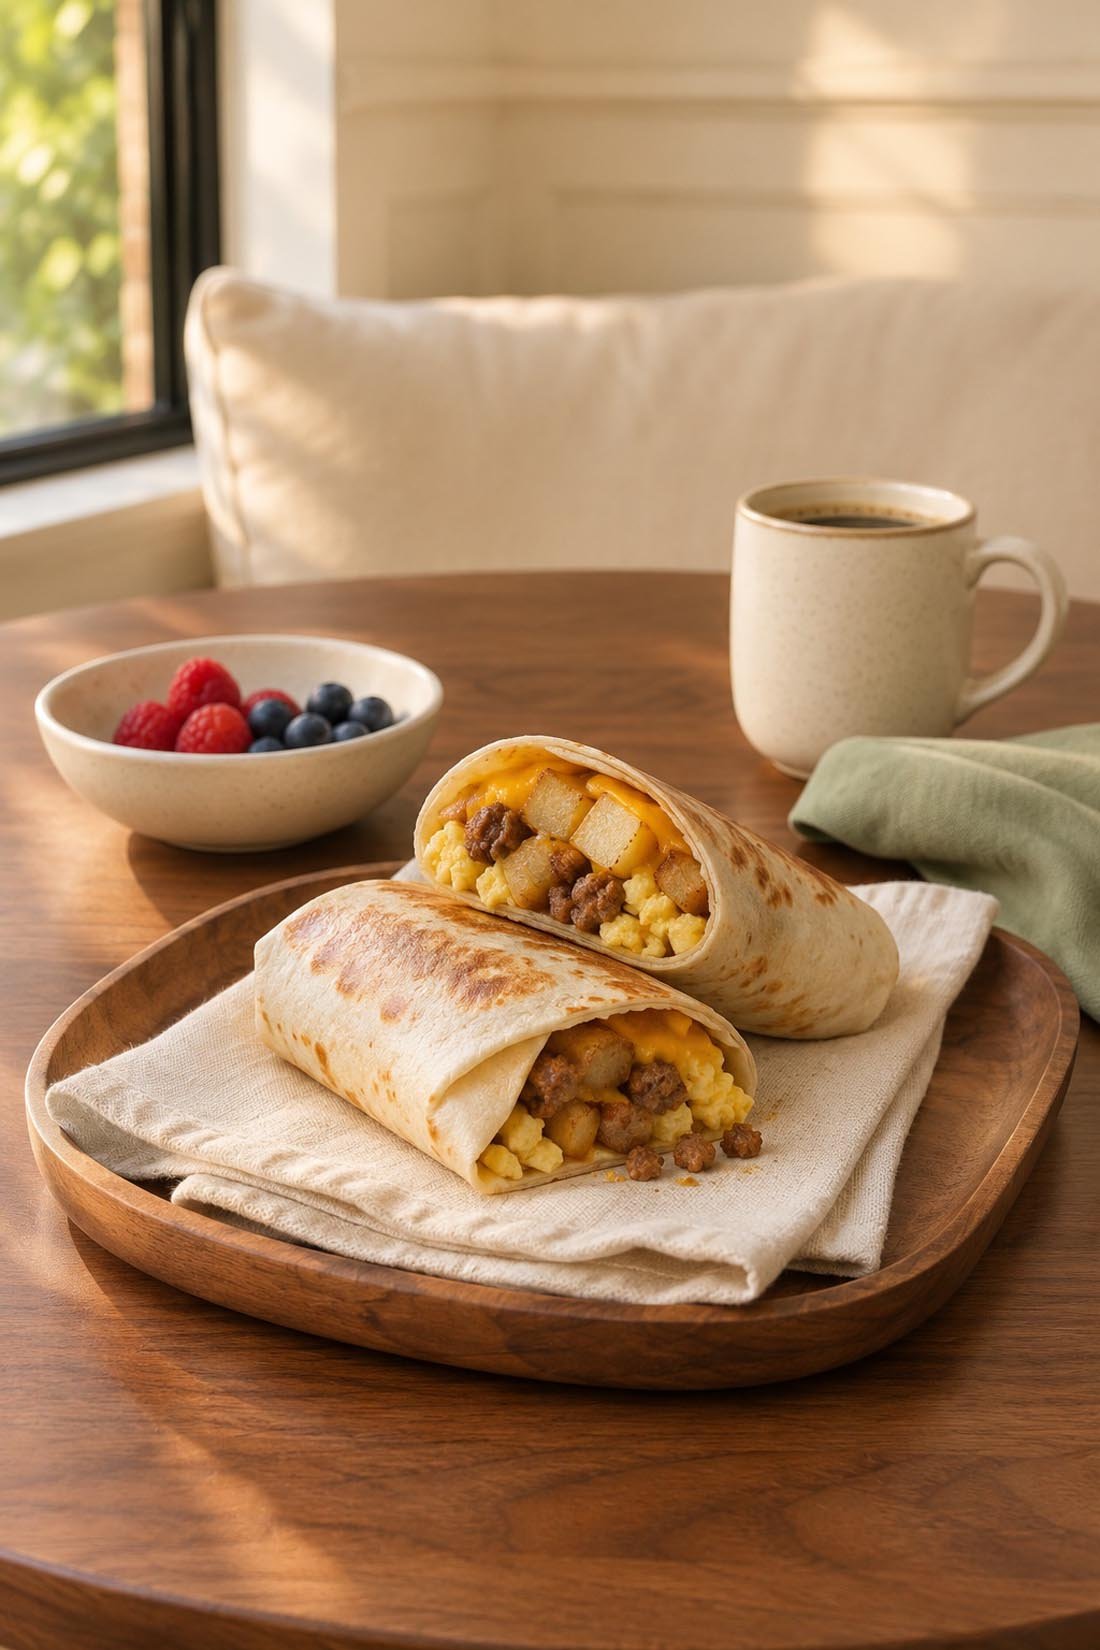
Freezer Breakfast Burritos
These are not just for mornings. We eat them for dinner more than I will admit. Make a big batch and they last for weeks.
- 10 large flour tortillas
- 12 eggs, scrambled
- 1 pound breakfast sausage or bacon, cooked
- 2 cups frozen hash browns, cooked
- 2 cups shredded cheddar
- salt and pepper
- Scramble the eggs and cook the meat and hash browns. Put the cooked filling in shallow containers and chill it promptly. Warm filling makes a soggy burrito.
- Lay out each tortilla, add a scoop of eggs, meat, hash browns, and cheese. Roll them up tight, folding in the sides.
- To freeze: Wrap each burrito in foil. Drop them all in a freezer bag, press out the air, and write the date on the bag. Freeze up to 1 month for best taste.
- To reheat from frozen: Unwrap from foil. Wrap in a paper towel and microwave short bursts, turning once, until the center reaches 165°F on a food thermometer. Or thaw in the fridge overnight and heat until the center reaches 165°F.
- To reheat in the oven: Keep the foil on and bake at 350°F until the center reaches 165°F on a food thermometer. Begin checking after about 25 minutes; frozen burritos may take longer.
The rested you, feeding the tired you
A pan in the freezer is one less meal to plan when your day is full. You cannot know how much energy you will have next week, but you can set aside dinner before you need it.
So this weekend, if you get an hour and a clear head, make two of something instead of one. Bake one for tonight. Wrap the other up, write the date on it, and tuck it away. Then on the hard night, when you open that freezer door, it will feel less like a chore and more like someone left you a note that says: I knew this day was coming, and I have got you.
Make-Ahead Dinners: Questions Busy Moms Ask
What are good make-ahead dinners?
The best ones bake in the oven and hold up well after freezing. Think baked ziti, lasagna, enchiladas, chicken and rice casserole, breakfast burritos, and sheet-pan kits. You assemble them in a dish on a good day and bake them later, so a single afternoon of cooking can cover several busy nights.
What dinners freeze well?
Saucy, cheesy, and starchy dishes freeze beautifully because they stay moist. Casseroles, baked pasta, soups, and burritos are great picks. Foods with a lot of crisp lettuce, raw potato, or cream-only sauces are trickier, so stick with hearty bakes when you are starting out.
How long do freezer meals last?
Most assembled freezer meals keep their best quality for about 1 to 3 months. They stay safe to eat longer if your freezer holds steady at 0°F, but the taste and texture slowly fade. Labeling each pan with the date is the easiest way to use them while they are still good.
Can you bake a casserole from frozen?
Yes, you can bake many casseroles straight from frozen. Keep the dish covered, add roughly 50 percent more baking time, and check that the center reaches 165°F before serving. If you have time, thawing it in the fridge overnight gives more even results and shorter oven time.
How do I label and store freezer meals?
Press plastic wrap onto the food, then add a layer of foil to keep air out. Write the meal name, the date, and the baking instructions right on the foil or bag so you are not guessing later. Store flat until frozen solid, then stack to save space.
