
Paper snowflake crafts start with a sheet of paper and end with a small surprise. You fold, cut a few shapes, and open the paper to see what those little notches have made. A row of triangles can turn into six pointed arms. A curved cut can leave a snowflake that looks almost like lace.
You'll find the six-point folding method here, plus three ways to change your cuts. Then comes the fun part: hanging the snowflakes in your window, making a garland, or adding one to a wrapped gift. Plain white paper looks lovely for all four projects, though pale blue and cream deserve a spot on the table too.
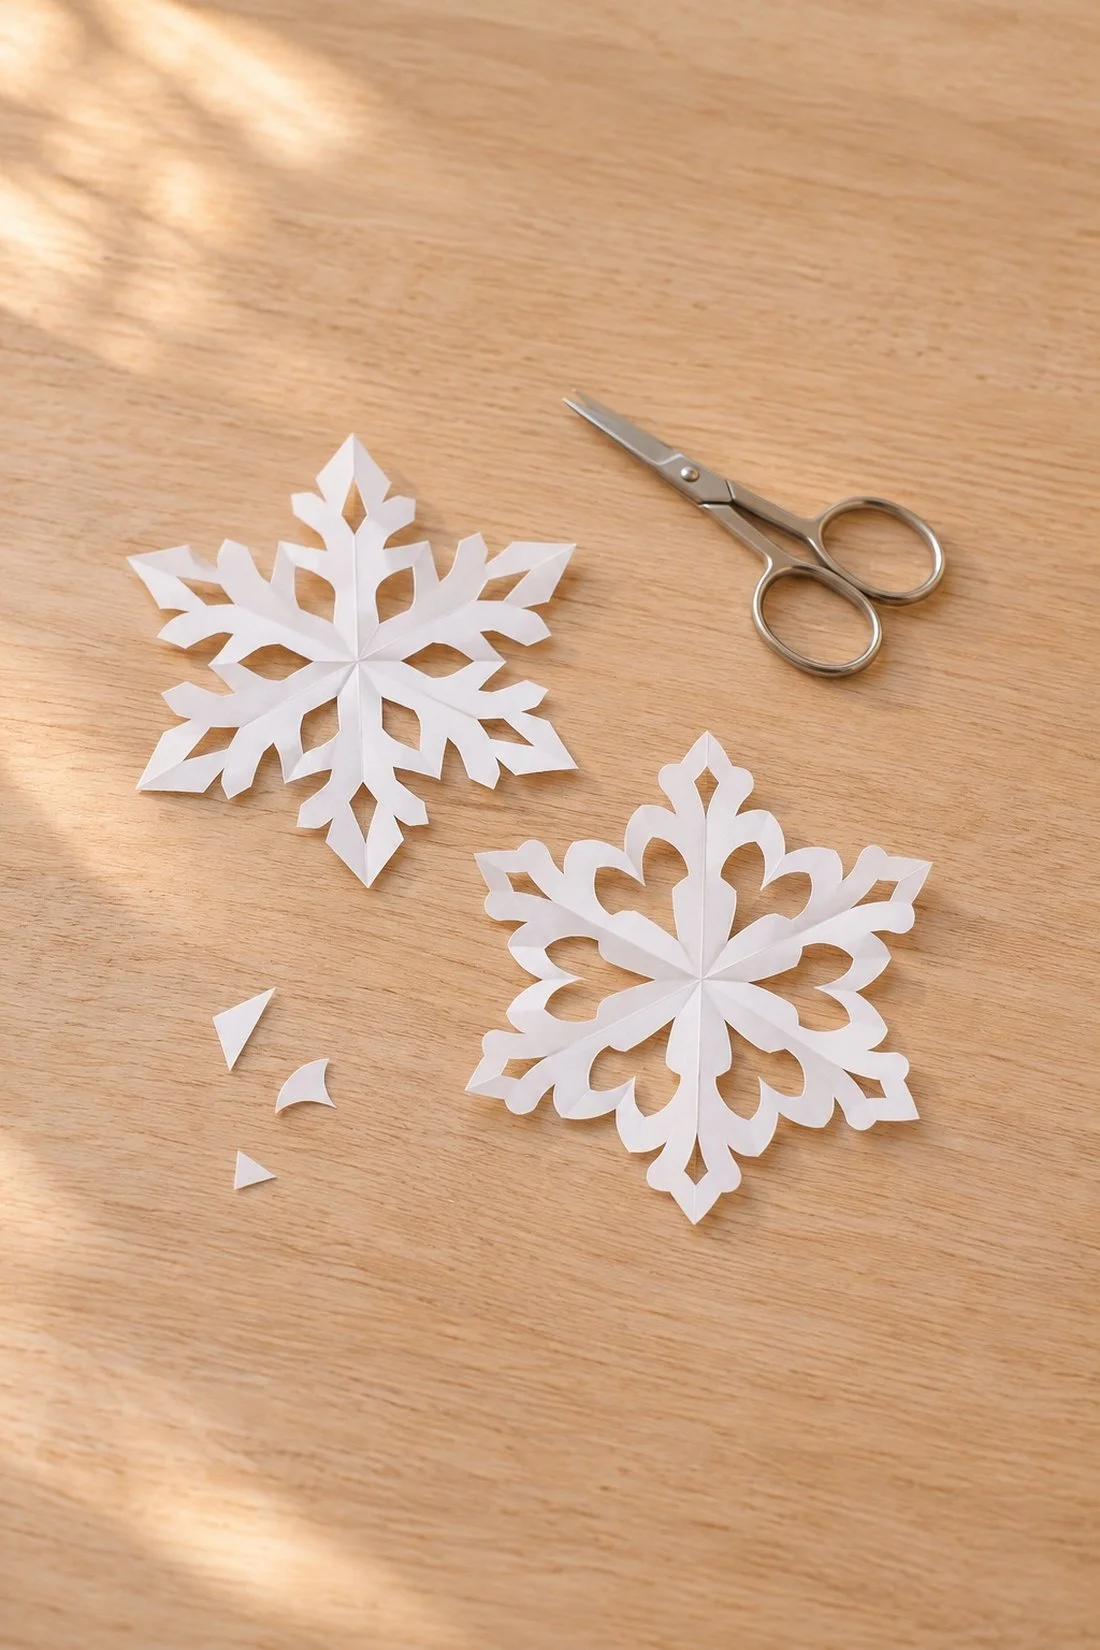
What you need for paper snowflake crafts
Thin paper, scissors, and a pencil are enough for the snowflakes themselves. A ruler helps you make squares of different sizes. For the display ideas, you might also want thread, small pieces of tape, a glue stick, blank cards, or a roll of wrapping paper.
Start with a square around 8 inches wide. Plain printer paper works for broad cutouts. Thin origami paper gives you a lighter stack to cut, which helps when you want smaller details. Cardstock is better saved for the card underneath your snowflake; all those folds make a thick stack.
White paper shows up well against a window. Cream looks pretty on brown gift wrap, while pale blue adds a little color to a white card. You can also use a clean sheet from an old notebook if you like the look of faint lines across the finished shape.
The paper choice changes the look, so a matching set can still have some variety. Try three white snowflakes and two blue ones on a garland, or keep the whole window white and change their sizes.
How to fold a six-point paper snowflake
A six-point snowflake starts with a square folded into a triangle, then into a narrower wedge. The folds repeat your cuts around the center when you open the paper. Work through the first one slowly so you can see which point becomes the middle.
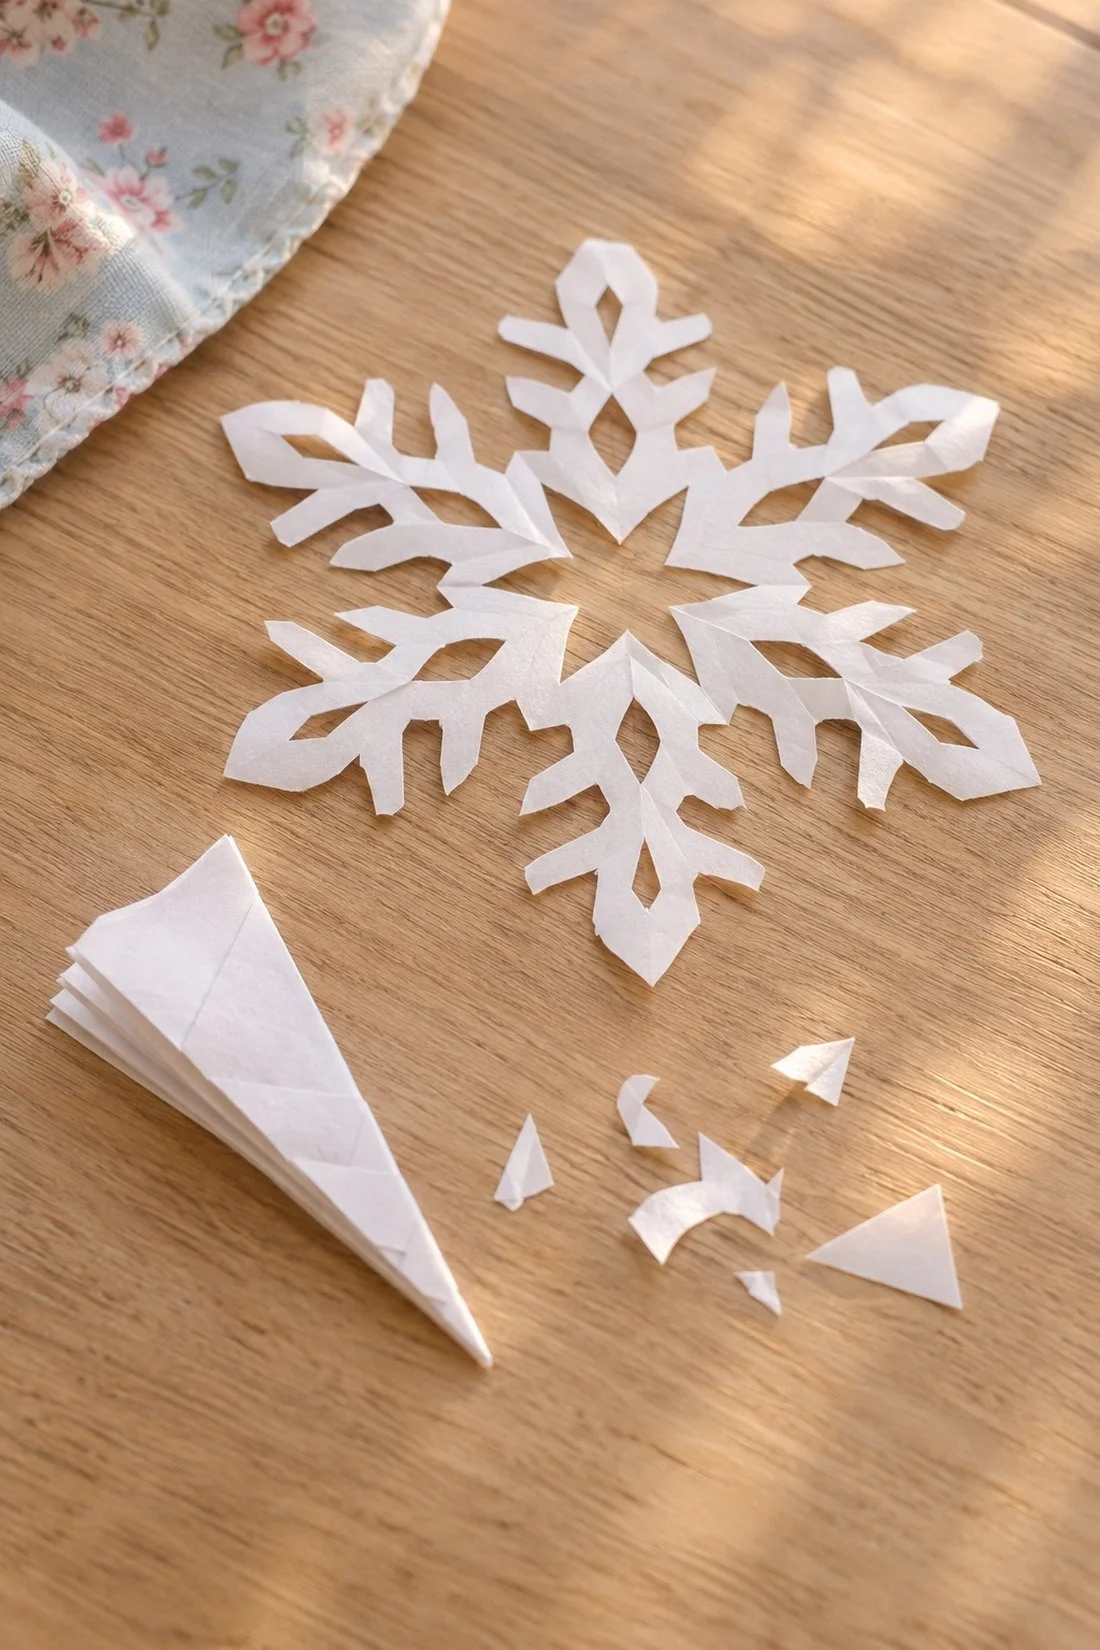
Start with a square and find the center
If you're using a rectangle, fold one corner over until the short edge lines up with the long edge. Cut off the strip left outside the triangle. Open the paper, and you'll have a square with a crease across it.
Fold that square diagonally into a triangle. Bring the two ends of its longest edge together to make a smaller triangle, press the fold, then open that last fold. You're back to the larger triangle, now with a crease that marks the middle of its long edge.
Fold the triangle into thirds
Place the triangle with its long edge nearest you and its top point facing away. The midpoint on the long edge is the hinge for the next two folds. Bring the right corner across toward the left so that the triangle begins to divide into three equal sections.
Bring the left corner across the first fold. Move the flaps a little until the layers line up as an even wedge. The narrow point at the bottom is the center of your snowflake. Two uneven points will stick out at the wide end.
Fold the wedge in half lengthwise to make it narrower, keeping that center point together. Cut across the wide end below both uneven tips. You'll have a long triangle with a clean outer edge.
Cut and open your snowflake
Cut small notches into both long edges of the folded triangle. Leave some paper along each fold so the snowflake stays connected. For your first one, try two small triangles on one side and a shallow curve on the other.
Open one fold at a time, easing the small cutouts apart. Lay the snowflake flat and press its creases with your fingers. A small cut across the narrow tip makes a hole in the center; leaving that tip whole gives you a solid middle.
The six-point shape has a link to real snow crystals. NOAA explains that their six-sided shape comes from the structure of ice. Your paper version repeats one set of cuts around that same six-part shape.
Three cut patterns to try
Triangles, rounded notches, and narrow slots give the same folded paper three different looks. Change one kind of cut at a time, and you'll be able to see what each one does when you unfold it.
Pointed branches
Cut a shallow V into the wide end of your wedge. Then add two small triangle-shaped notches along each long edge, with solid paper between them. When you open the sheet, the outside has pointed tips and the inner cuts form a repeating pattern.
This is a good pattern for a window because the broad shapes show up from across the room. Try it on two sizes of paper, keeping the cuts roughly the same distance apart. The smaller one will look more detailed beside the larger shape.
Rounded lace
Give the wide end a curved edge, then cut small half-circles along the sides. Space them apart so each hole has a strip of paper around it. The opened snowflake has softer edges than the pointed version.
Cream paper suits this one, especially on a dark card or brown gift bag. You can leave the center whole for a place to attach it, with the curved edges free to lift a little.
Long, narrow branches
Trim the wide end into a point, then make narrow V-shaped cuts farther down the sides. Leave a broad center so the long arms stay joined. This gives you a snowflake with more open space between its branches.
If you'd like a printed pattern for another round, NASA has a Webb telescope mirror snowflake template, created by Leah Hustak. Its design gives you a different shape to fold and cut after you've tried your own.
Small changes that help the next snowflake
Even folds and connected strips of paper help a snowflake open as one piece. If yours comes apart, look at the folded edges before the next cut. Cutting all the way across a fold can separate a whole section.
If one arm is much wider than the others, adjust the thirds before pressing them flat. The narrow center point stays in the same place while the flaps move. You can test those folds on a spare square before adding a pattern.
If the scissors bunch the paper, try a thinner sheet or make broader cuts. Small details need room between them. A few clear shapes can look lovely when the snowflake opens, especially on a smaller square.
For curled edges, place the finished snowflake between two clean sheets of paper under a heavy book. Once it lies flatter, you'll be able to see the cutouts more clearly against the window or a card.
Four ways to decorate with your snowflakes
Windows, garlands, gifts, and cards all give flat paper snowflakes a place to go. Pick the display first if you want to choose sizes that fit it, or make a small pile and see which ones look good together.
A little snowfall across your window
Arrange a few snowflakes on the glass at different heights. Start with one larger shape near the middle, then place smaller ones above and beside it. A small piece of clear tape near each center leaves the cut edges visible.
Leave spaces between the shapes so you can see each pattern. If you already have greenery around the frame, white paper adds another layer. A few snowflakes can fill the center while the garland stays around the edges. For a bedroom, they can join the softer light and bedding in these cozy bedroom ideas for quieter nights.
A snowflake garland
Lay a length of thread on the table and spread your snowflakes along it before attaching them. Try a larger one between two smaller shapes, or repeat the same size for a more even row.
Tape the back of a solid part of each snowflake to the thread. Leave a little space between them, then lift the garland to see how it hangs. Across a bookshelf, the paper shapes look pretty against the books behind them. A short strand can also sit along the front of a desk.
A snowflake on a wrapped gift
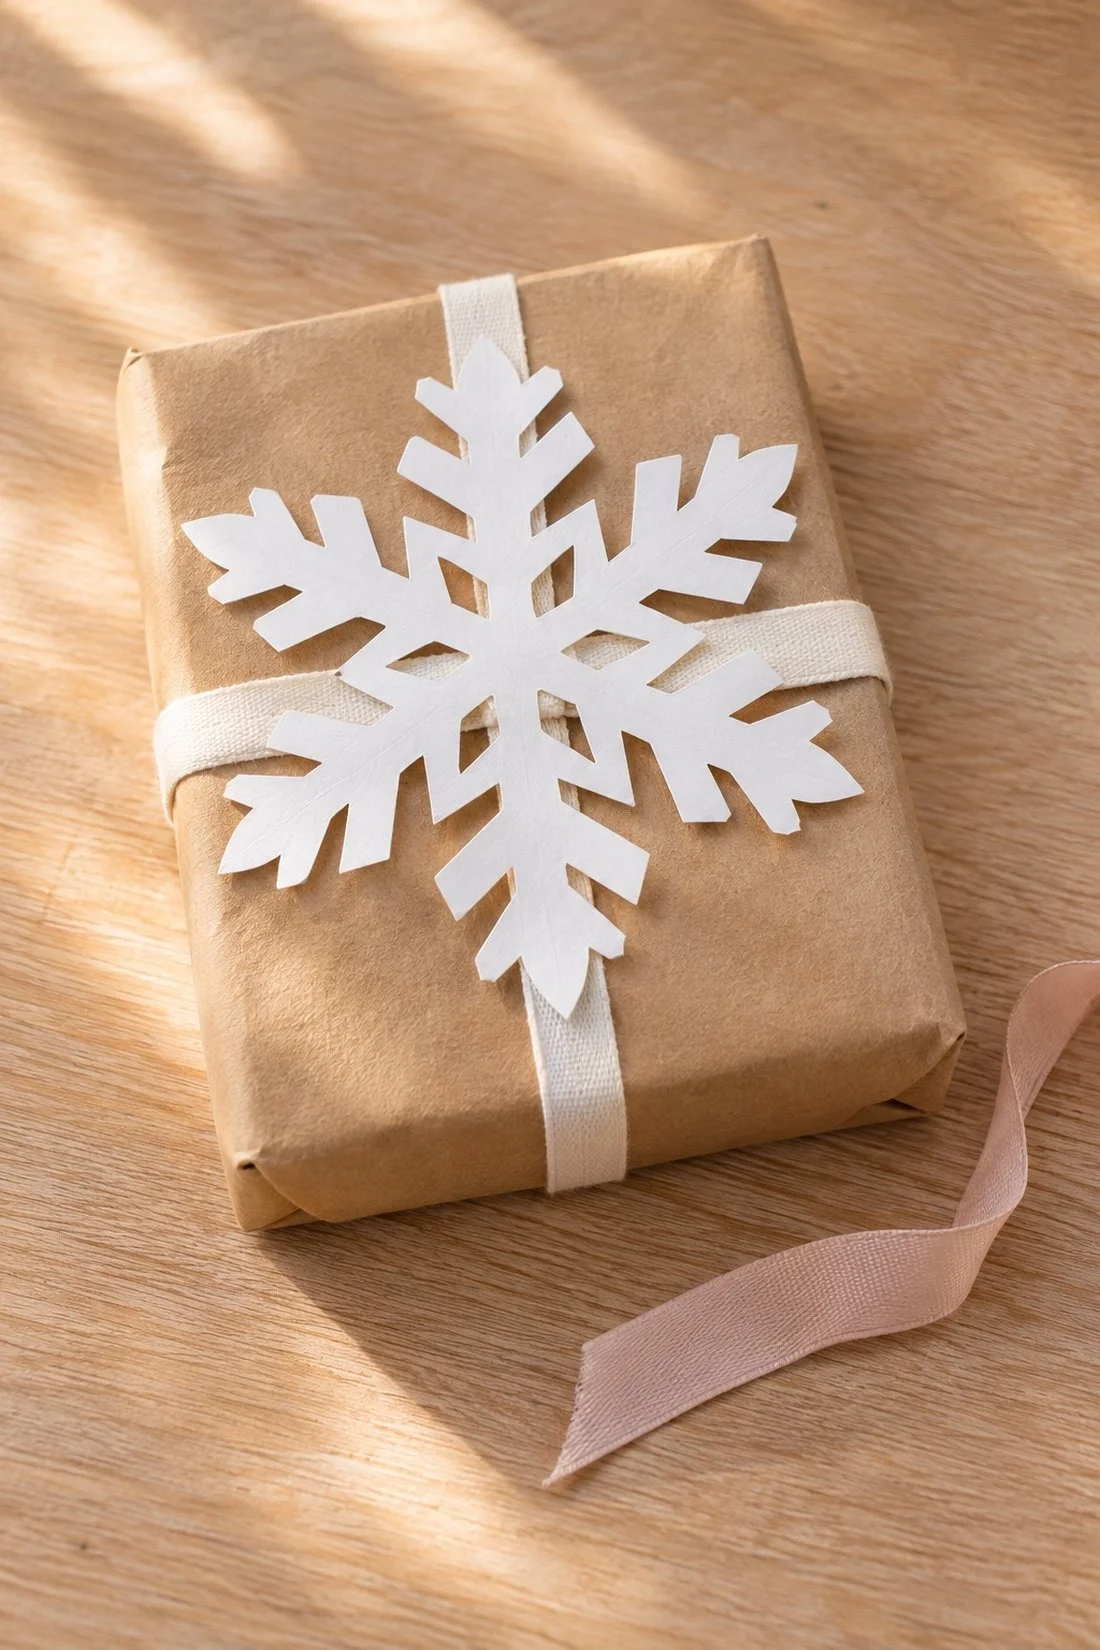
Place a white or cream snowflake on brown wrapping paper, then cross ribbon over its center. The ribbon holds the middle while the cut edges spread across the package. A small snowflake works on a gift bag too.
For the tag, you can pair a name with a short Christmas greeting. Pale blue ribbon looks lovely with white paper. Red ribbon gives the same package a brighter Christmas feel.
A card with a paper snowflake
Fold a sheet of cardstock in half and choose a snowflake that fits the front. Add a little glue to its solid center and a few broader parts of the branches, then press it onto the card. Leave room underneath for a short note.
White on navy shows off the cutouts, while cream on pale pink gives the card a softer look. If you're setting out paper for a family craft afternoon, these Thanksgiving crafts with paper and crayons offer more projects for the same table.
Make a small set with a friend
A snowflake afternoon works well with one shared pile of paper and a place to spread out what you've made. Set a few finished examples in the middle, then try different cuts on the same size of square.
You can each choose a pattern for the other person to try, or pick two colors for a shared garland. The reveal is part of the fun. Those little shapes look quite different once the folds open.
Keep a favorite flat snowflake in a folder if you want to make a similar one later. Beside it, save a folded sample with the cuts still visible. Next time, you can see how those triangles and curves became the shape now hanging in your window.
You might also like
Things to do in November with your family
Handmade clay mugs for coffee and tea
